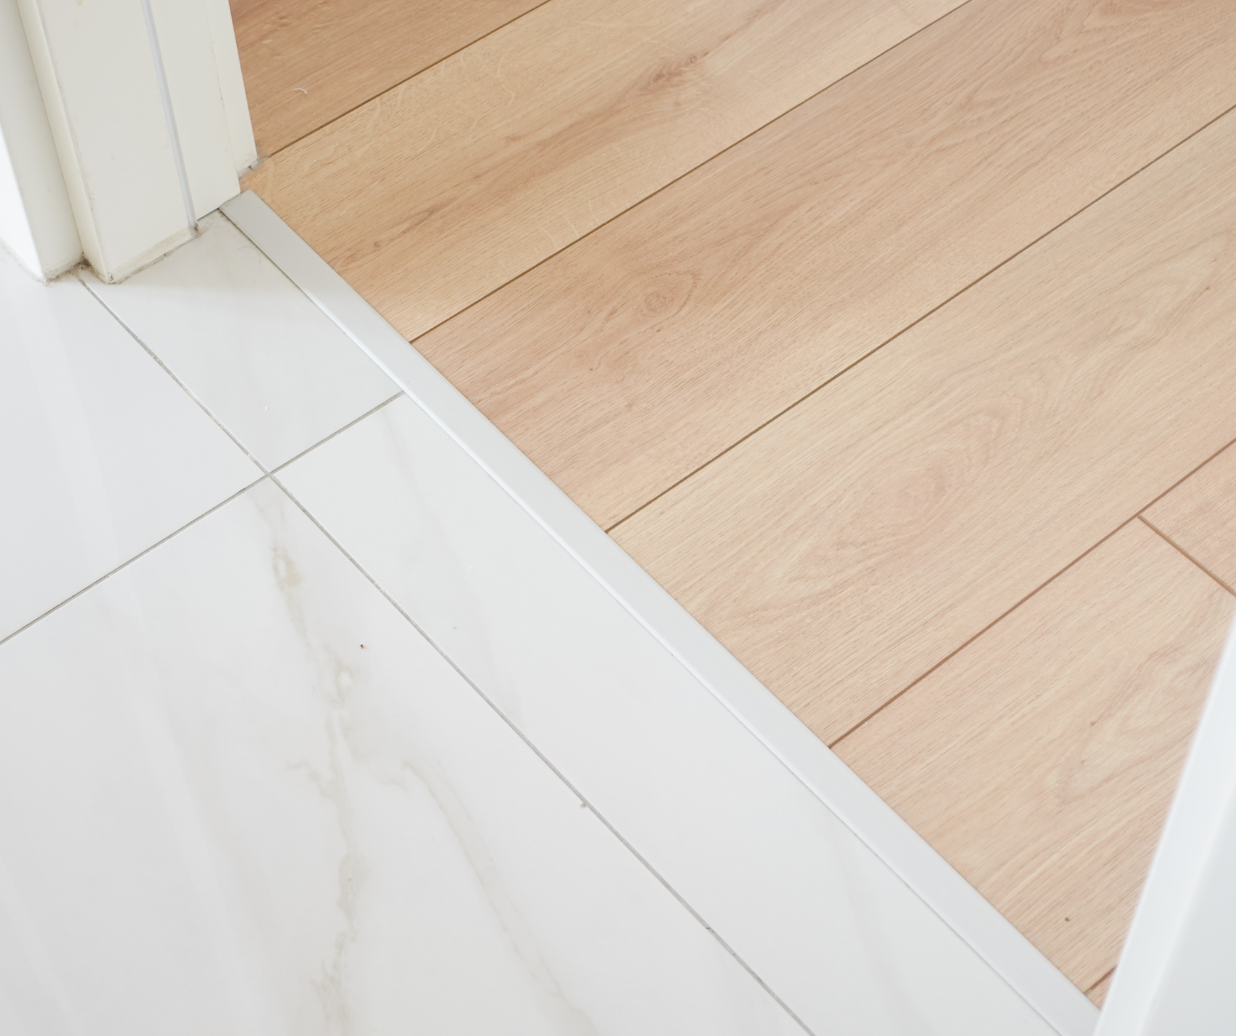
You notice it most at night, when the house is quiet. Walking from your great room into the hallway, your foot catches slightly on the threshold. The color shifts, the board direction changes, and suddenly the whole main floor in your St. George home feels like it was finished in phases instead of as one intentional design. That tiny bump underfoot is a reminder: floor transitions either disappear into the architecture, or they call attention to every doorway and level change.
In our desert climate, thoughtful transitions are about more than looks—they also protect your floors from movement, wear, and intense UV exposure.
Start With a Whole-House Layout, Not Just One Room
Seamless transitions begin on paper, long before the first plank is installed. Instead of picking flooring room by room, think in terms of zones: main living, private bedrooms, wet areas, and stairs. Each zone has different performance needs, but they should still read as one coordinated story.
For open-concept main floors, engineered hardwood works beautifully because we can run long, continuous lines through kitchen, dining, and living spaces. When you explore the full range of hardwood visuals and constructions, you’ll see how consistent plank size and tone across these areas keeps doorways from feeling like visual “stop signs.” In a dry Mojave environment, we lean heavily on engineered cores so those long runs stay flat and tight even as humidity drops into the single digits.
Where you shift materials—say, from hardwood in a great room to a more water-tolerant surface in a bath—the goal is to plan that change at a natural architectural break, such as a cased opening, not in the middle of a sightline.
Matching Heights and Profiles Between Rooms
The biggest giveaway of a poor transition is a lip you can feel with every step. That’s especially common where hardwood meets tile or where different floors stack up on uneven substrates in older Santa Clara or Washington homes.
We control this in three ways:
- Selecting materials with compatible thicknesses
- Adjusting underlayment and prep to fine-tune elevation
- Choosing the right transition profile (T-molding, reducer, flush stair nose)
Sometimes the best visual solution is to use hardwood in main spaces and laminate in secondary rooms, but keep thickness and color aligned so the transition strip nearly disappears. When we help families compare durable laminate options that pair well with wood, we’re looking for not just color harmony but also board dimensions that keep the joint clean and proportional.
In bathrooms, laundry rooms, or entry areas that see splashing or tracked-in pool water, we may favor a waterproof surface and then carefully feather the subfloor so the finished height flows smoothly into adjacent hardwood. If you’re considering this kind of mixed-material layout, it helps to look through resilient luxury vinyl styles made for wet zones and imagine how they’ll meet the wood at each doorway.
Stairs, Landings, and Level Changes
Stairs are where transitions become safety-critical. A nosing that sits proud of the riser or a sudden shift in texture can turn a beautiful staircase into a tripping hazard, especially when you’re coming down into a sunlit foyer and your eyes are adjusting from bright desert light.
On wood staircases, we typically use flush stair nosings that match the tread material so the edge reads as one continuous surface. Where a hardwood staircase meets a tiled or vinyl landing, we design that intersection so the nosing aligns perfectly with the finished floor height rather than stepping down awkwardly.
Because every rise and run must be consistent, professional layout and installation matter as much as the product itself. Our crew plans these details during the measure, and our comprehensive flooring services overview walks through how we handle subfloors, nosings, and code requirements so you get a staircase that feels as good underfoot as it looks from across the room.
Protecting Transitions From Sun, Dust, and Daily Life
In Southern Utah, transitions see some of the harshest conditions in the house. Doorways funnel traffic, concentrate abrasive red sand, and often sit in strong sun paths. A perfectly level T-molding can still fail early if direct UV is baking one side of the joint all afternoon.
We often recommend lower-sheen, wire-brushed hardwood finishes at these thresholds because they camouflage micro-scratches from grit better than high gloss. Just as importantly, we encourage clients to add targeted window coverings that control UV on vulnerable runs of flooring. Blocking or diffusing direct sun at exterior doors and large sliders dramatically reduces fading and thermal movement right where different materials meet.
If you’re juggling multiple levels, materials, and exposures—from a bright main floor in St. George down to a cooler lower level in Enterprise—the design work is in connecting all of it so your eye and your feet never notice the transitions.
Thoughtful transitions turn a collection of rooms into a cohesive home. If you’d like help mapping out where to change materials, how to hide height differences, and which profiles will disappear into your design, we’re happy to walk the space with you, step by step. You can schedule a technical flooring consultation and free in-home estimate and we’ll help you plan every transition before the first board is installed.